
V2 Integrations
Integration Guides API v2
Use this guide to integrate with API v2, which uses a single lifecycle for all configured products:
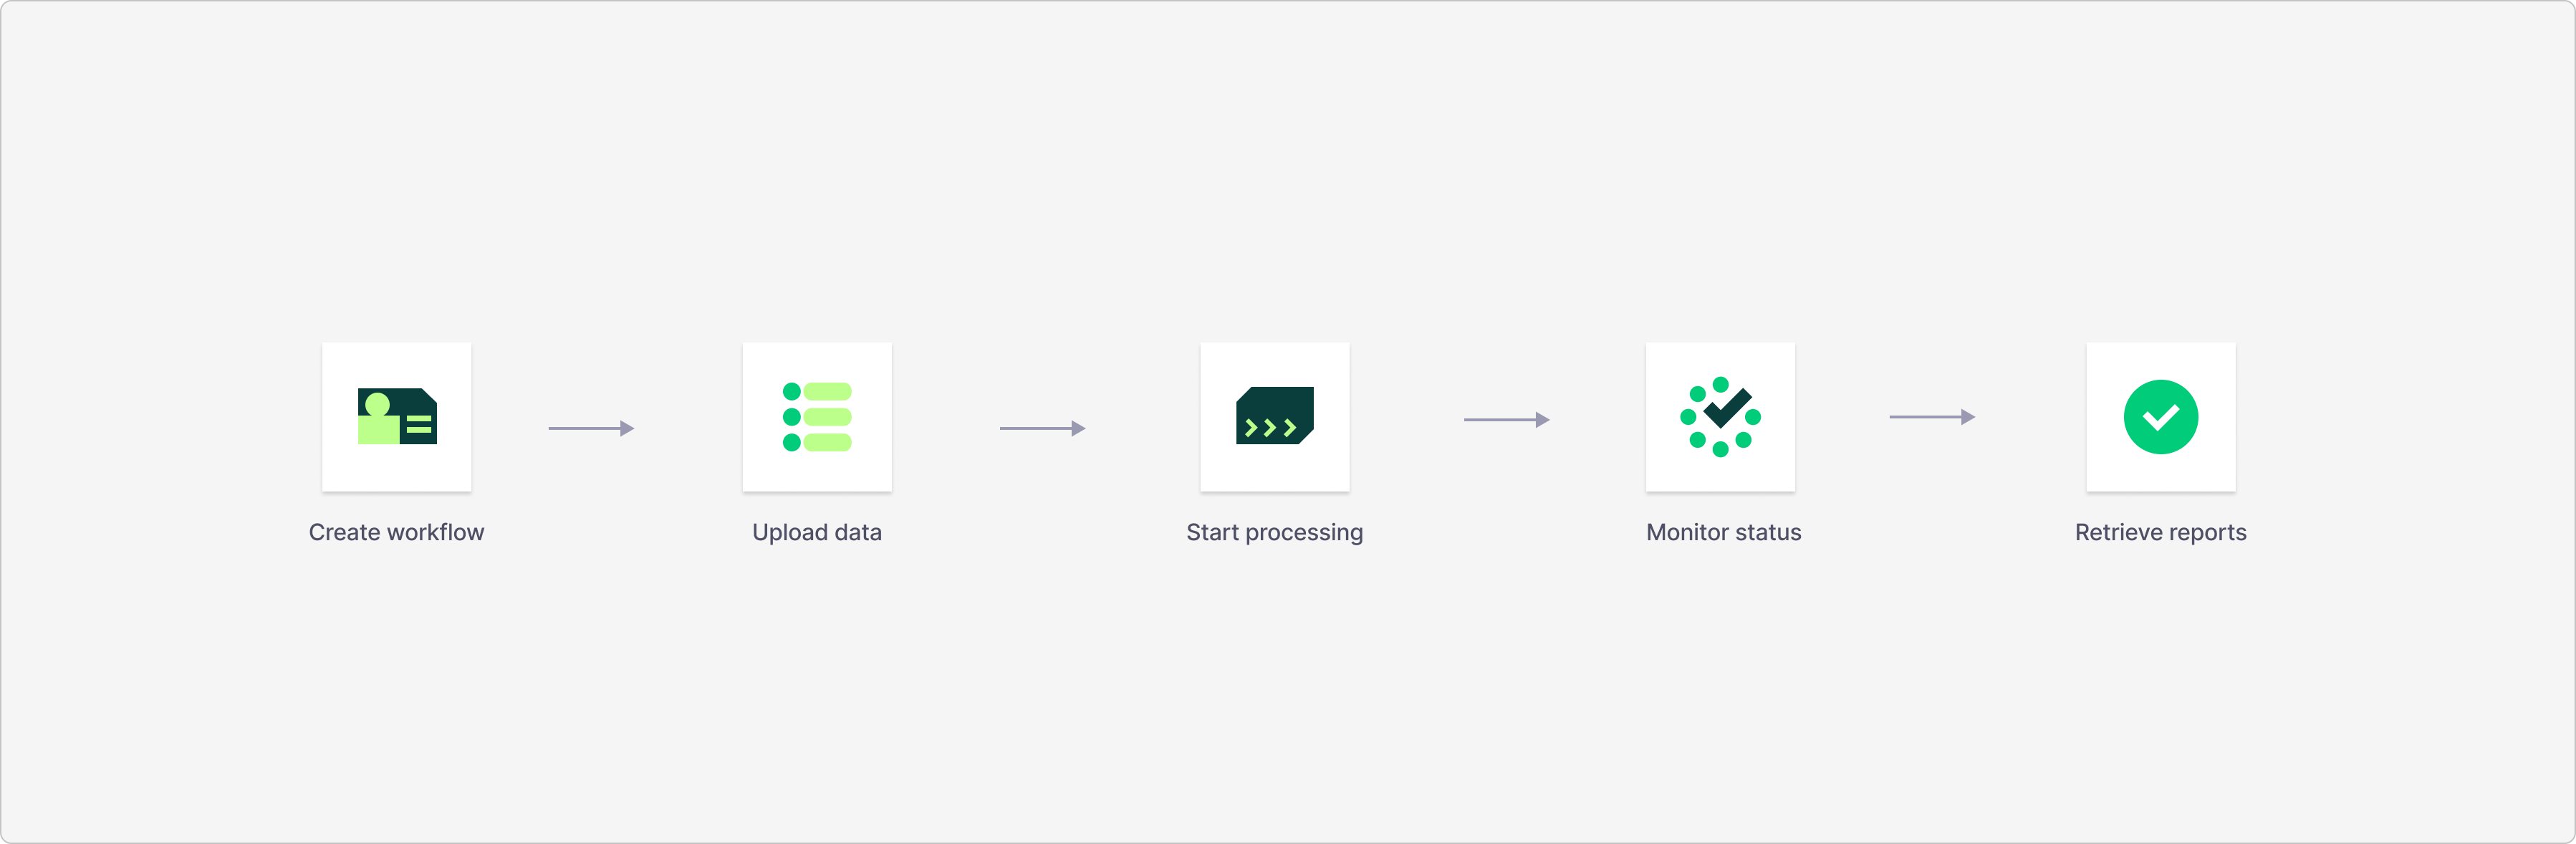
Your workflow configuration determines which products are executed. The integration flow remains consistent across workflows. The following elements vary by configuration:
- The configured workflow name
- The required uploads
- The product-level statuses you evaluate
Migrating from a legacy integration?
Legacy integration guides are organized per product. v2 integrations are workflow-centric. Use this page as the main integration path, then use Product statuses to interpret each product outcome.
Before you begin
Make sure you have:
- Fourthline API credentials and access to Create access token
- The workflow name passed as
workflowon Create workflow - The list of required uploads for your workflow, such as identity data, identity documents, reference data, or documents to sign
- Handling for workflow statuses and product statuses
- Optional: a webhook endpoint for status notifications
Minimum viable integration
Use this sequence to validate sandbox end-to-end before you add webhooks, QES, or custom UI components.
| Step | operationId | What you do |
|---|---|---|
| 1 | create-access-token-v2 | Obtain a bearer token. Tokens are valid for 1 hour. |
| 2 | create-workflow-v2 | POST workflow and either partnerClientId or clientId, but not both. Store workflowId. |
| 3 | upload-client-data / upload-client-document | Upload all mandatory data and documents required by your workflow configuration. |
| 4 | start-workflow | Start processing. Expect 202 Accepted and an empty body. |
| 5 | get-workflow-status | Check the workflow status until workflowStatus reaches completedor failed. Review the status of each product in products[].status. |
| 6 | get-report-json | After the workflow completes, retrieve the JSON workflow report. |
Optional capabilities
Add these only when your workflow requires them.
| Capability | When to use | Where to continue |
|---|---|---|
| SDK capture | Use Fourthline-hosted SDK flows to capture client data and documents. | Create SDK session |
| Webhooks | Receive event-driven workflow updates without repeatedly checking workflow status. | Webhooks |
| QES | Your workflow includes Qualified Electronic Signature (QES). | QES in API v2 |
| Bulk document upload | Upload multiple client documents in a single request. | Upload multiple client documents |
| Identity document metadata | Enrich an uploaded identity document with structured MRZ or NFC data. | Upload identity document metadata |
Webhooks and reports
Webhook payloads do not include
workflowStatus. After each webhook, call Get workflow status. Do not download final reports untilworkflowStatusiscompleted, unless your process explicitly allows partial data. See Workflow reports.
Choose how data is provided
| Approach | When to use | What you implement |
|---|---|---|
| API-only | You control capture in your app or backend. | Upload client data, Upload client document, optional bulk upload |
| SDK | Fourthline captures data in a hosted App Drop-in or Web flow. | Create SDK session after creating the workflow. Pass validationCode to the SDK. |
You can combine approaches where your workflow allows it, for example SDK capture plus API-based supplemental uploads. Confirm supported options for your workflow with your delivery manager.
1. Authenticate
Create an access token and send it on every request in the Authorization header.
- You provide your API credentials.
- You receive an
access_tokenvalid for 1 hour.
API reference: Create access token
2. Create workflow
Create a workflow for the client.
- Set
workflowto your configured workflow name. - Provide either
partnerClientIdorclientId, but not both.- Use
partnerClientIdwhen onboarding a new client with your own client reference. - Use
clientIdfor returning clients when you already have the Fourthline client id.
- Use
- Store the returned
workflowIdandclientId.
API reference: Create workflow
After creation, workflowStatus is typically new. See Workflow statuses.
3. Upload client data and documents
Upload all mandatory inputs before you start the workflow. Required uploads depend on your workflow configuration.
Identity and reference data
Use Upload client data with the appropriate type, such as identityData or referenceDocumentData.
Files
Use Upload client document for each file, or Upload multiple client documents for batch upload.
Each upload includes metadata such as type, id, and type-specific fields like documentId or side. Accepted formats depend on the document type; see the API reference for each upload endpoint.
Document metadata after capture
If your workflow uses structured MRZ or NFC enrichment, use Upload identity document metadata for an existing documentId.
Upload before starting
Do not call Start workflow until all mandatory data and documents are uploaded. Missing inputs can result in
failedworkflow status or product-levelinvalid_data. If mandatory data is missing after start, create a new workflow unless your implementation guide explicitly supports correction for that case.
4. Create SDK session
Create an SDK session only if you use App Drop-in or Web SDK capture. Skip this step for API-only integrations.
Create the SDK session before starting the workflow.
- You provide
workflowIdandtarget(MobileorWeb). - You receive a single-use
validationCode. - The
validationCodeexpires after 2 hours. - Pass the code to the App Drop-in or Web SDK.
API reference: Create SDK session
If the client abandons the flow, create a new SDK session. Closing the app or browser invalidates the code.
5. Start workflow
Start processing after all mandatory uploads are complete and, if applicable, after SDK capture is complete.
- You provide
workflowId. - Workflows cannot be restarted.
- Every successful start request, including retries after the workflow has already started, returns 202 Accepted with an empty response body. Duplicate requests are treated as idempotent and acknowledged without issuing additional start commands for products that are no longer in the new state.
API reference: Start workflow
6. Monitor status
Track progress until the workflow reaches a terminal state.
You can:
- poll Get workflow status, and/or
- listen for webhooks, then call Get workflow status for details.
Two layers of status
| Layer | Where | Use |
|---|---|---|
| Workflow status | workflowStatus | Overall lifecycle state: new, pending, completed, or failed. |
| Product status | products[].status and related fields | Per-product result. Use this to decide the business outcome. See Product statuses. |
If you poll only, call Get workflow status every 15–60 seconds while workflowStatus is pending. Stop when the status is completed, or failed.
For production monitoring, combine status handling with a daily reconciliation job for workflows that remain pending in your database.
7. Retrieve reports
When workflowStatus is completed, retrieve reports according to your product requirements and internal business rules.
| Need | Endpoint |
|---|---|
| Structured workflow result, statuses, CDD data, and product blocks | Get JSON report |
| ZIP bundle with PDF, XML, and identity files | Get ZIP report |
| PDF only | Get PDF report |
| XML only | Get XML report |
See Workflow reports for report structure and examples.
Support
For any questions, contact your Fourthline delivery manager.
Updated 12 days ago