
Overview
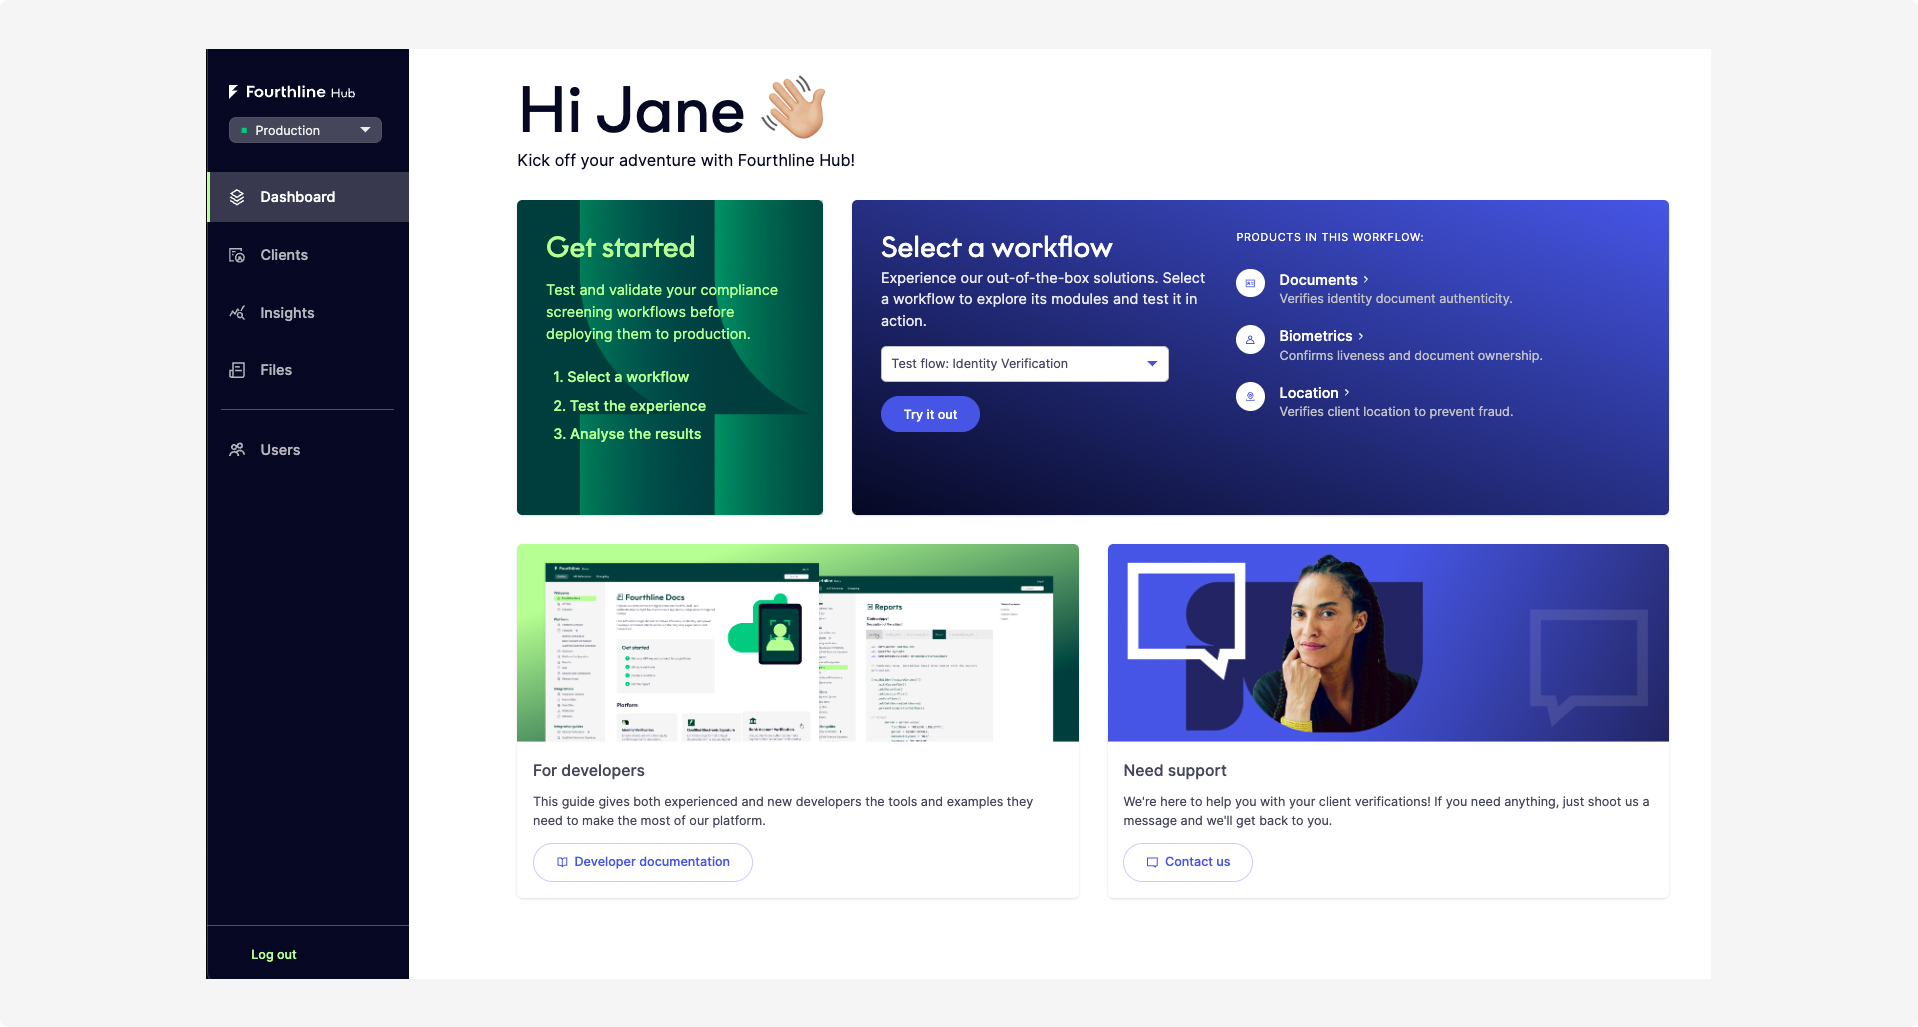
Fourthline Hub
Fourthline's Fourthline Hub gives you transparency and control to turn compliance into a business advantage.
Use Hub as your central platform to:
- Assess client lifecycles.
- Monitor verification volumes and processing trends.
- Access aggregated insights on key metrics.
- Orchestrate onboarding workflows.
Account types
Hub offers two account types, depending on your current relationship with Fourthline:
| Account type | Access | Functionality |
|---|---|---|
| Business Partner account | Sandbox and Production environments | Organizations that have a signed commercial agreement with Fourthline have full access to all features and workflows. |
| Prospect account | Sandbox environment only | Organizations that do not yet have a signed commercial agreement with Fourthline have limited functionality (e.g., workflow testing). You can request a trial to explore additional products. |
Account creation
To get started with Hub, you first need to create an account:
- Navigate to Hub.
- Select Continue > Create an account.
- Complete the sign-up form.
- Use your work email address. Personal emails (Gmail, Yahoo, etc.) are not supported.
- Enter your Given name and Family name.
- Set a secure password with at least 12 characters, including:
- One number
- One lowercase letter
- One uppercase letter
- One special character (e.g.,
! @ #)
- Select Sign up.
- Confirm your account by opening the verification email we sent and following the link. If you do not see it in your inbox, check your spam folder.
To log out of Hub, select Log out in the navigation menu.
Domain restrictions
If your organization uses multiple email domains, only the primary domain is linked to your account. Team members with another domain may be placed in a separate demo environment.
To register additional domains, contact [email protected].
Set up SSO
Hub supports SAML 2.0 single sign-on (SSO) with any SAML 2.0-compliant identity provider, including Microsoft Entra ID, Okta, and Google Workspace.
Important
After SSO is enabled for your organization, users sign in with their identity provider credentials instead of a Hub password.
Before you begin, make sure you have administrator access to your organization's identity provider.
-
Contact Fourthline at [email protected] or your Fourthline point of contact to request SSO.
-
Fourthline provides the following SAML configuration values:
- Assertion Consumer Service (ACS) URL
- Entity ID (Audience URI)
-
Configure your identity provider using the values provided by Fourthline and the required SAML attributes.
-
Configure the following SAML attributes:
Attribute URI Email http://schemas.xmlsoap.org/ws/2005/05/identity/claims/emailaddressFirst name http://schemas.xmlsoap.org/ws/2005/05/identity/claims/givennameLast name http://schemas.xmlsoap.org/ws/2005/05/identity/claims/surname -
Export the federation metadata XML from your identity provider and send it to Fourthline.
-
Fourthline enables SSO for your organization's email domain or domains.
-
Fourthline confirms that SSO is enabled.
Microsoft Entra ID
When configuring Microsoft Entra ID, the default SAML attribute mappings typically match the required attributes. Set the ACS URL and Entity ID to the values provided by Fourthline, then export the federation metadata XML from your Enterprise Application and send it to Fourthline.
For other SAML 2.0-compliant identity providers, such as Okta or Google Workspace, use the same ACS URL, Entity ID, and SAML attributes. Refer to your identity provider's documentation for provider-specific configuration steps.
Sign in with SSO
After SSO is enabled for your organization:
- Go to Hub.
- Enter your work email address.
- Hub detects that your organization's email domain uses SSO and redirects you to your identity provider.
- Sign in with your corporate credentials. Complete multifactor authentication if your organization requires it.
- After authentication, you are redirected back to Hub.
Important
Hub automatically provisions a user account the first time a user signs in with SSO. Users whose email domain is configured for SSO cannot sign in with a Hub password.
Set up MFA
Multifactor Authentication (MFA) adds an extra layer of security by requiring a second form of verification. MFA is required every time you sign in to Hub.
After setting your password, you'll be prompted to configure MFA. In this section, you’ll learn how to set it up for your account.
How to set up MFA with an authenticator app
- Install a TOTP-compatible app (e.g., Google Authenticator, Microsoft Authenticator).
- Scan the QR code on the setup screen to add a new account in your authenticator app.
- Enter the 6-digit verification code from your authenticator app.
- Select Sign in to finish setup.
Reset a password
If you forget your password:
- Navigate to Hub.
- Select Sign in > Forgot your password?
- Follow the reset instructions sent to your inbox.
You’ll receive an email with a link to create a password for your Hub account. The link is valid for 24 hours.
Environments
Hub has two environments:
| Environment | Description |
|---|---|
| Production | Contains real client data from your Production environment. Access to the Production environment is limited to existing Business Partners. |
| Sandbox | Contains data from your sandbox environment. Safe for testing, with no impact on production data. |
By default, you'll land in the Production environment after logging in. You can switch environments using the environment controls available throughout the application.
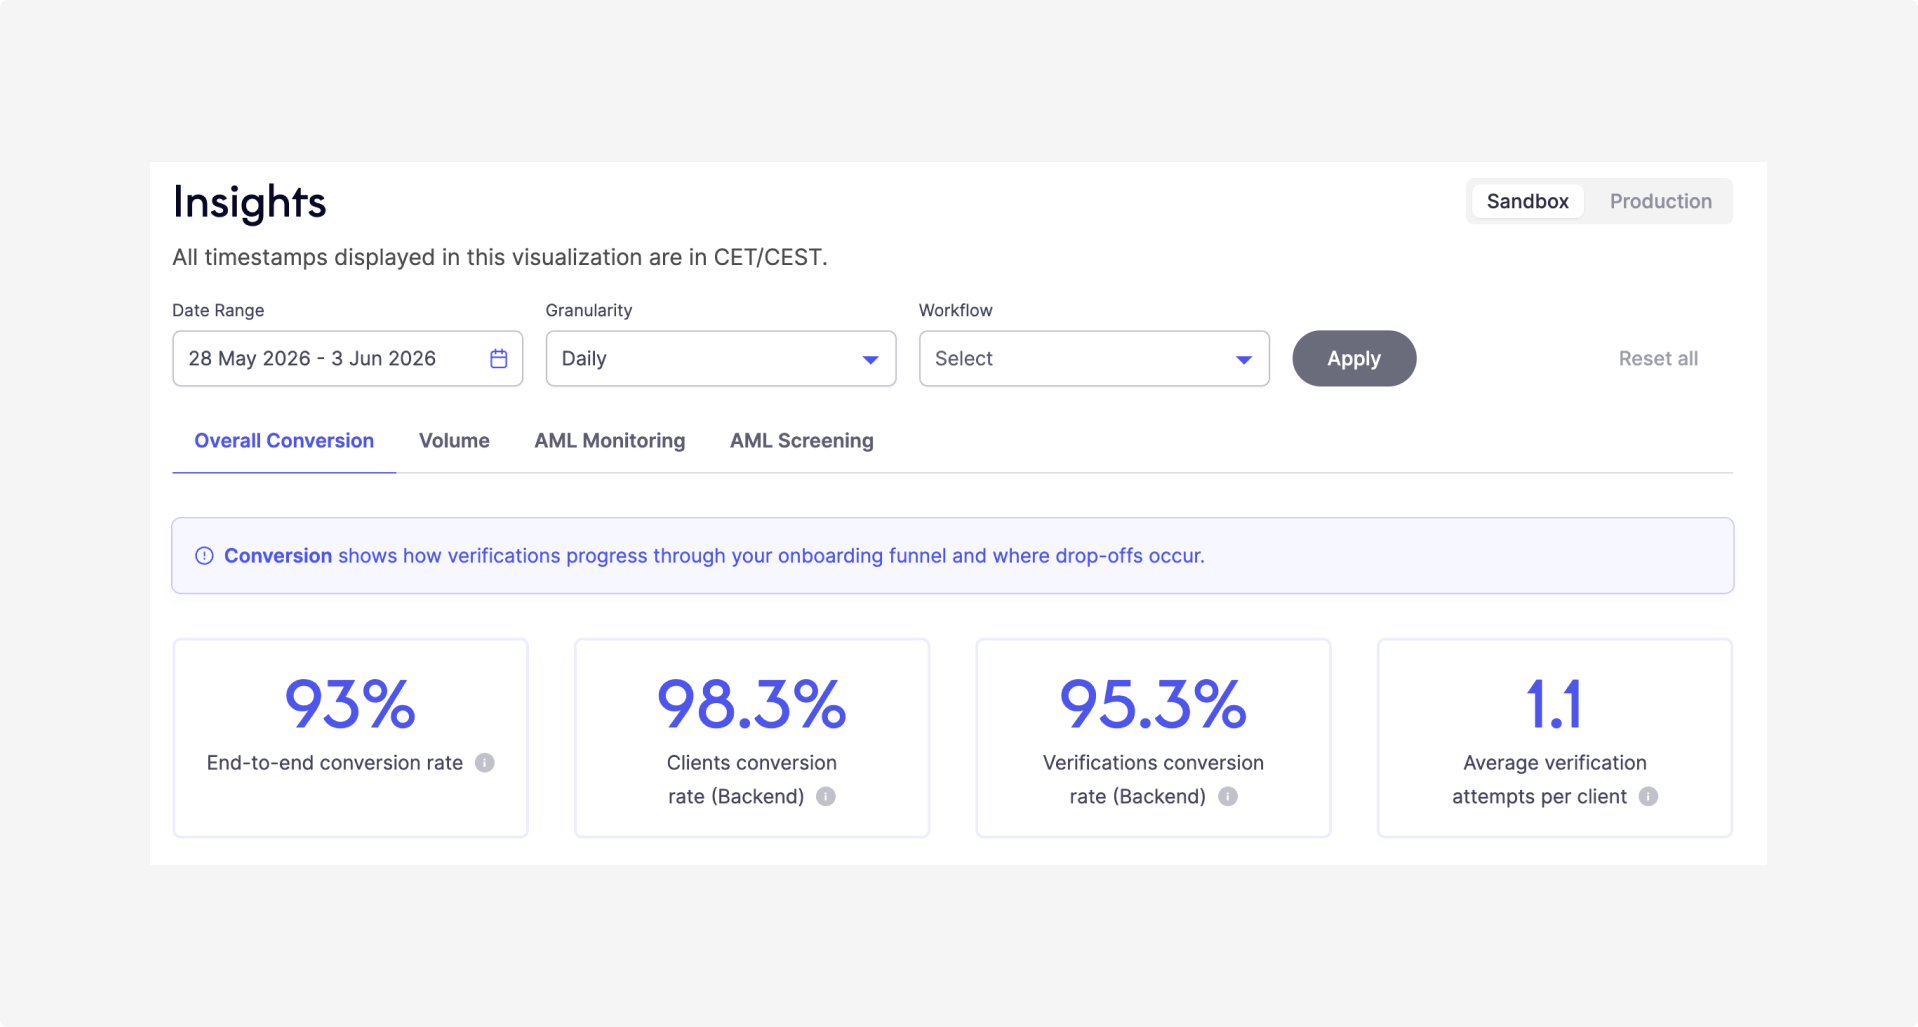
Environment selector on the Insights page
User management
Users give people within your organization access to Hub. User roles define what they can do once inside.
Manage invitations
With the Admin role, you can invite and re-invite colleagues, and revoke invitations.
To invite new users to access Hub:
- Sign in to Hub.
- Go to Users > Invite new users.
- Enter your colleague’s work email address. It must match your organization’s domain.
- Select the role(s) you want to assign to them.
Manage access
With the Admin role, you can remove user access.
Remove user access
You can remove a user’s access at any time from the Active users tab:
- Sign in to Hub.
- Go to Users > Active users.
- Find the user.
- Select ••• (more options) > Remove access.
- Confirm the action.
Removing access will:
- Disable the user permanently.
- Remove them from the list.
Tip
Disabled users can’t access Hub or sign up again. To reactivate, contact [email protected].
View user status
Active users
To get an overview of all users who’ve completed signup, when they were last active, and their roles:
- Sign in to Hub.
- Go to Users > Active users.
- Use the arrow icon to sort by Email (alphabetically), or Last active date (chronologically).
Pending users
These users have completed sign-up but haven't yet been assigned a role. They can sign in to Hub, but won’t see any pages or have access to functionality until an admin assigns them a role.
To view them:
- Sign in to Hub.
- Go to Users > Pending users.
A red icon highlights users waiting for role assignment.
Pending invitations
To view users who were invited but haven’t completed signup yet:
- Sign in to Hub.
- Go to Users > Pending invitations.
Each invitation includes the date it was sent.
Roles & permissions
User roles are sets of permissions that define what the user can do in Hub. The user roles in Hub are:
- Admin: Access to Users.
- Base access: Access to Clients and Insights.
- Identity data access: Access to view uploaded media files on the Clients page. This role provides access to personal data and should be assigned with care.
- Developer: Access to manage API credentials.
- Configuration editor: Edit workflow configurations. Available only for Business Partner accounts.
Each user can have one or more roles, depending on their responsibilities.
If you’re the first person to sign up with a work email domain that isn’t yet linked to Hub, you’ll automatically get the Admin role. A new business account is created, and you can invite colleagues and assign roles.
If someone in your organization has already signed up with the same domain, you won’t automatically become an Admin. Instead, the existing Admin will need to assign the right role to you.
To manage user roles:
- Sign in to Hub.
- Go to Users.
- Use the dropdown in the Role column to assign or change role.
Important
Role changes take effect only after the client signs out and signs back in.
Next steps
Explore what operations you can perform in Hub.
Updated 19 days ago